How to Grout Stamped Concrete Using Color Hardener
- Sep 5, 2025
- 3 min read
Stamped concrete already looks impressive, but with the proper finishing techniques, you can take it to the next level. In this post, we’re breaking down a method that makes stamped concrete look so natural that it can be hard to tell it apart from real stone.

This technique utilizes Color Hardener as grout to achieve a realistic, high-end finish for stamped concrete. Whether you’re a seasoned contractor or a brave DIY homeowner, this guide will show you exactly how it’s done.
Why Use Color Hardener for Stamped Concrete Grout?
When most people think of Color Hardener, they think of broadcast application during the pour. But it can also be used as a grout material to fill the joints in stamped concrete patterns.
Durability: Bonds strong enough to withstand years of wear.
Realistic finish: Mimics natural mortar found in flagstone or slate.
Customizable: Available in a wide range of color options.
Pro Tip: Oyster White Color Hardener is a go-to choice for realistic mortar tones, but colors like Sun Buff can warm up the look if you’re working with tan or earth-tone slabs.

Project Overview
Pattern Used: Deco-Crete Desert Flagstone Stamp
Base Colors: Deco-Crete Sandy Brown and Hickory Color Hardener on the slab.
Acid Stain Colors: Weathered Oak, Antique Bronze, and Harvest Gold.
Grout Color: Deco-Crete Sun Buff Color Hardener (sifted for finer texture)
Sealer: Deco-Crete D1 All-In-One Sealer
We recommend letting your slab cure for at least 30 days before adding grout lines. This is a critical step for long-term success.
Step 1: Prep the Slab
Proper prep is the foundation of success when using Color Hardener as grout.
Seal the stones first
Use a roller only (⅜" nap).
Avoid getting sealer in the joints — you want the grout to bond directly to concrete.
Touch up grout lines
Run an angle grinder with a tuck-point blade to clean and deepen lines.
Ensure joints are slightly recessed below the surface of the stamped stones.
Step 2: Mix the Grout

Sift the Color Hardener to remove coarse sand.
Mix with clean water (use ice water in hot weather to slow the setup).
Load into a grout bag and apply it to joints.
Use a tile grout float to press it down, ensuring a strong bond.
Step 3: Strike and Shape the Joints
After filling, use the float to strike the grout level with the stones.
For a more authentic look, slightly concave the joints on the final pass.
Work in small sections so the grout doesn’t dry before you finish striking.
Step 4: Buff and Clean

After about 1–1.5 hours:
Buff the surface with a machine and a white pad to knock down high spots.
Blow off debris with a leaf blower.
Hand clean with sponges, Scotch-Brite pads, and buckets of clean water.
Avoid excess water to prevent smearing.
Important: Timing is everything. Don’t buff too early, or you’ll smear wet grout across the stones.
Step 5: Final Wash & Seal
Allow grout to set fully (end of day or next morning).
Pressure wash lightly to remove haze or sand residue.
Apply a final coat of sealer (spray and back-roll) for protection and depth.
Common Mistakes to Avoid When Grouting
Spraying sealer before grouting (causes bonding issues).
Working too large an area at once — grout dries before striking.
Excess water cleanup — can wash grout out of joints.
Skipping the sifting step — coarse sand prevents smooth joints.
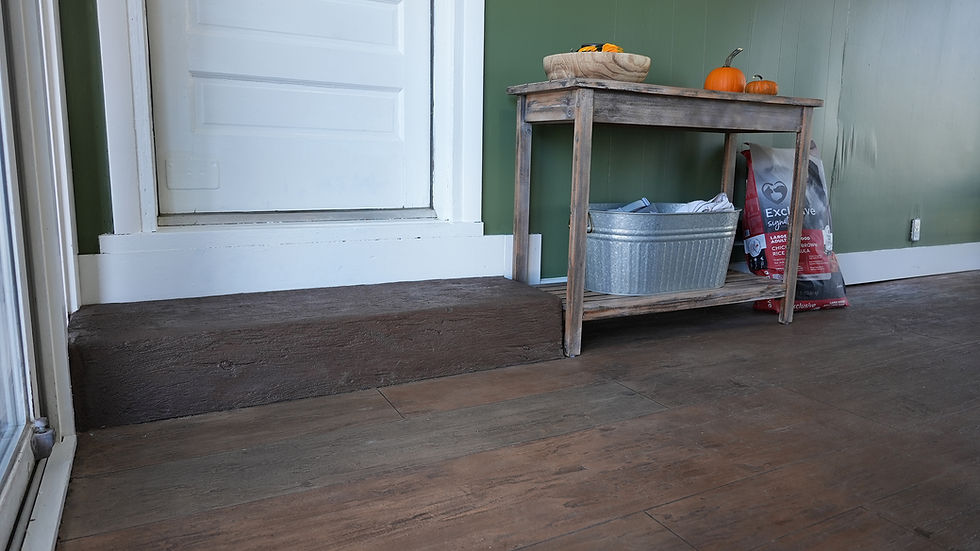
The finished Desert Flagstone job looked nearly indistinguishable from hand-laid natural stone. With the right color choice, careful sealing, and precise grout work, stamped concrete can achieve a luxury look at a fraction of the cost.
Use Color Hardener To Create Grout Lines on Your Next Job:
If you’re ready to step up your stamped concrete game, grab the materials used in this tutorial:
Deco-Crete Desert Flagstone Stamps
Deco-Crete Acid Stain
Deco-Crete Texture Enhancer
Deco-Crete Color Hardener
Deco-Crete D-One All-In-One Sealer
Conclusion
Using Color Hardener as grout is one of the best techniques to transform stamped concrete into a true showpiece. With proper prep, timing, and cleanup, you’ll create joints that are durable, realistic, and built to last.
Have questions or want to share your results? Tag us on social media with your stamped concrete projects. And if this guide helped you, please share it with your crew — it keeps the decorative concrete industry moving forward.